How To Polish Concrete Floors
Achieve stunning, high-performance polished concrete floors with our expert guide. Learn the professional techniques for grinding, densifying, and polishing concrete to create a durable, low-maintenance surface.
Our step-by-step approach covers everything from selecting the right diamond abrasives to achieving the desired level of shine. Take your concrete polishing skills to the next level and deliver exceptional results for your clients.
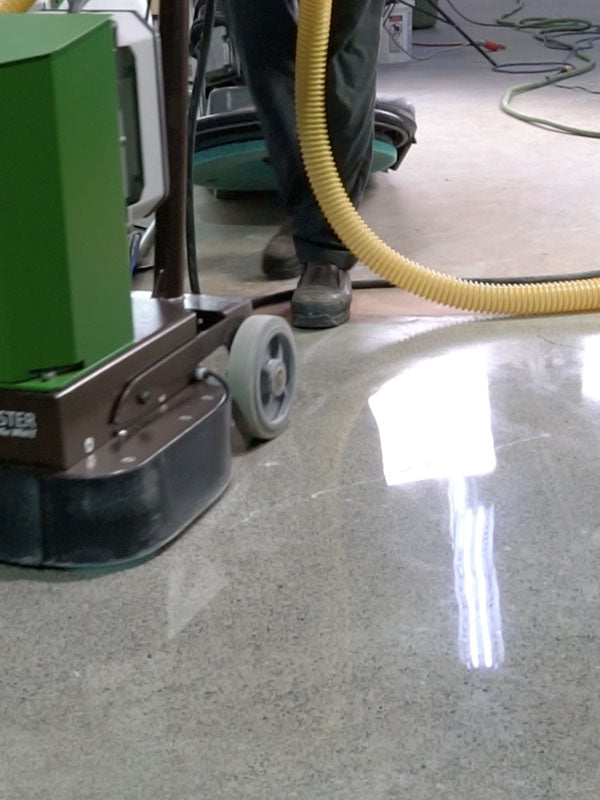
Garage floor concrete polishing
The Edge is a compact and powerful floor grinder and polisher. Available as a 240v or 110v model, The Edge is the perfect stand alone machine or as a compliment to a larger grinder. Exceptional build quality and easy to use, The Edge will give you professional results every time!
WerkMaster Concrete Floor Grinders
-
 SCARABSCARABRegular price $2,362.95 USDRegular priceUnit price per
$0.00 USDSale price $2,362.95 USD -
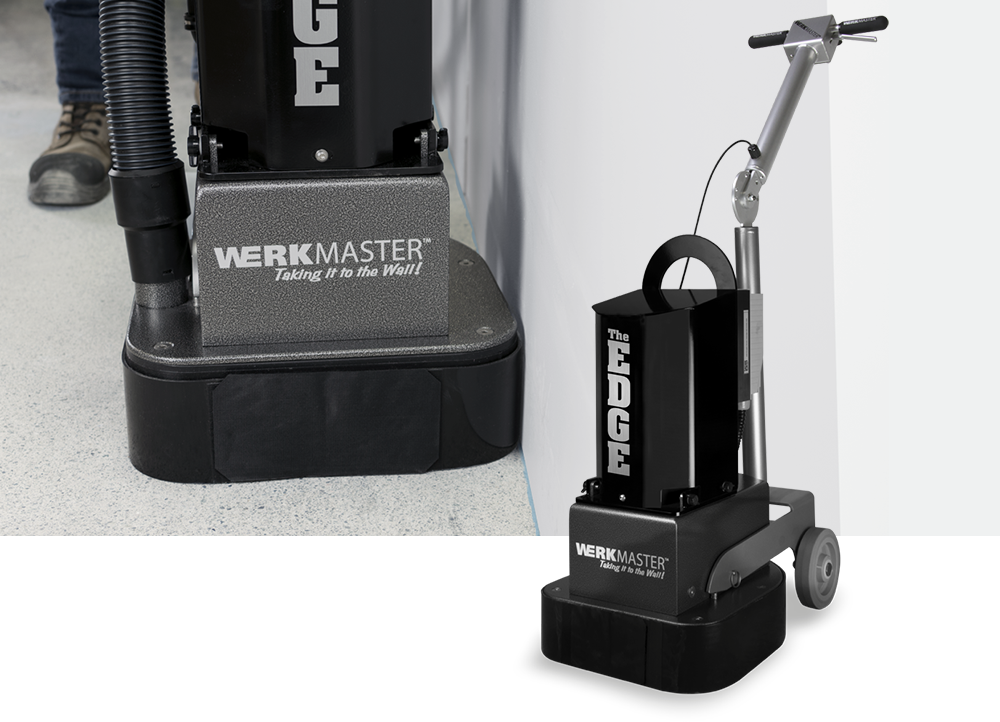 The EDGEThe EDGERegular price $13,330.00 USDRegular priceUnit price per
$0.00 USDSale price $13,330.00 USD -
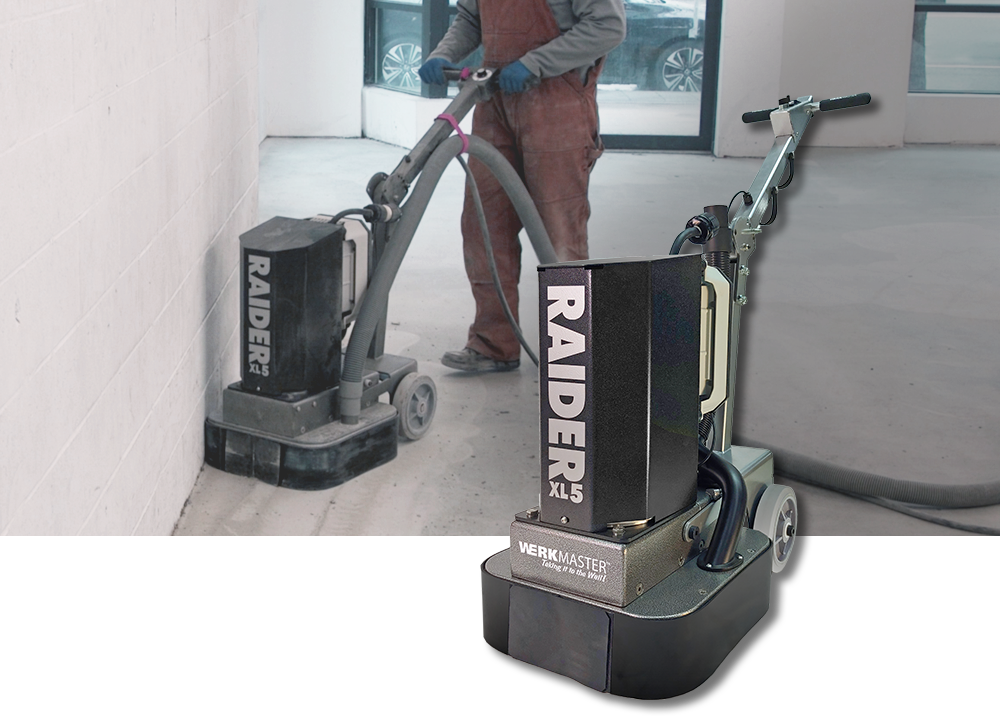 RAIDER XL5RAIDER XL5Regular price $17,543.95 USDRegular priceUnit price per
$0.00 USDSale price $17,543.95 USD -
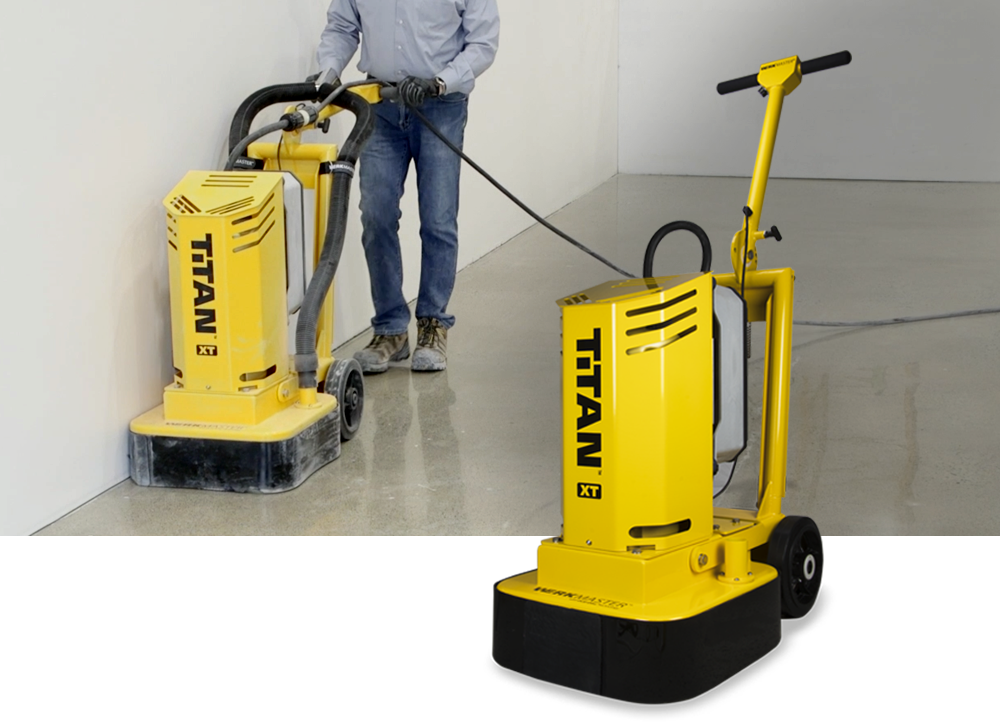 TITAN XTTITAN XTRegular price $25,980.00 USDRegular priceUnit price per
$0.00 USDSale price $25,980.00 USD


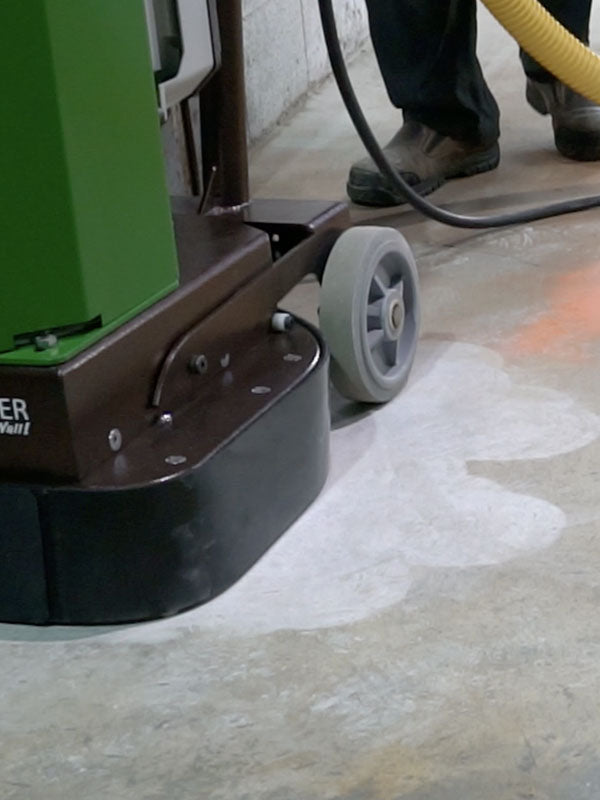
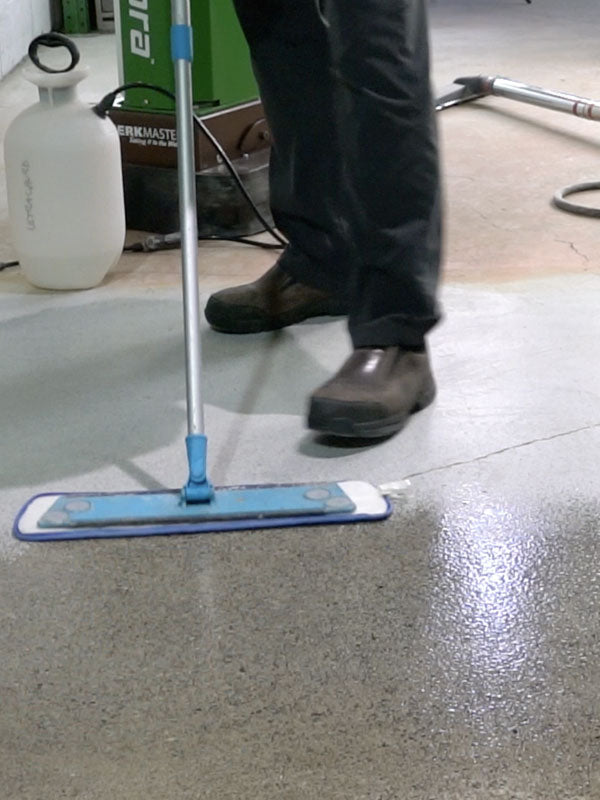
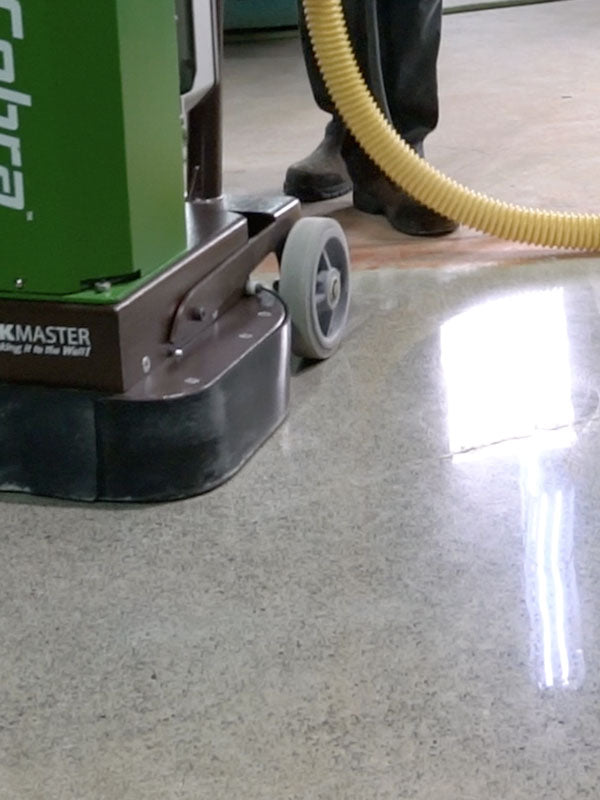
Step by step concrete polishing
Using the WerkMaster Scarab this Step by step video demonstrates the complete concrete floor polishing and finishing process using WerkMaster diamond abrasive tooling, ULTRAdensifil Lithium Densifier and ULTRAguard Floor Sealer.