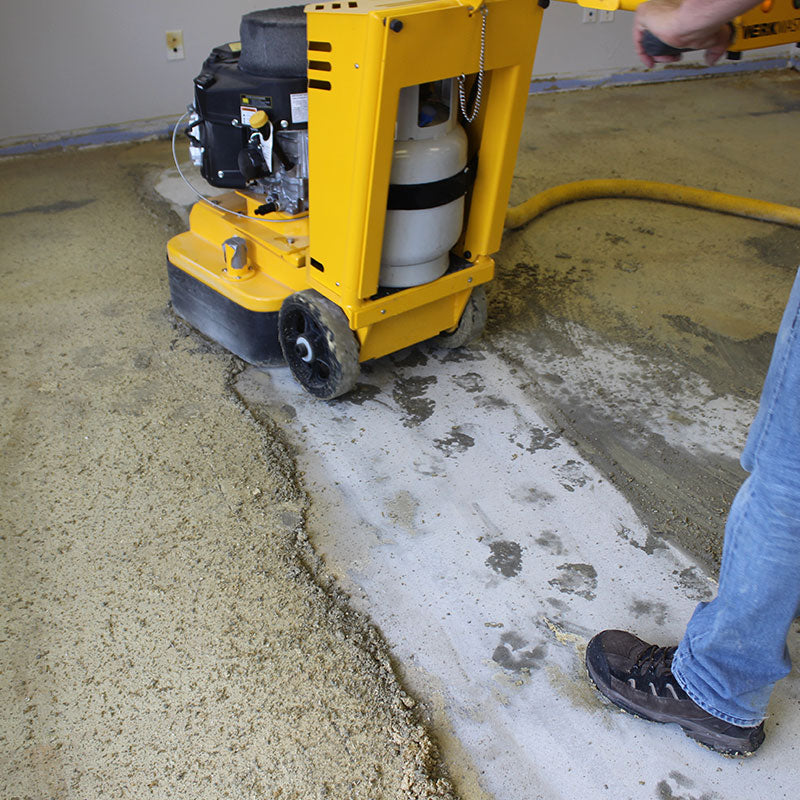
The WerkMaster Polished Concrete Topping System

The WerkMaster's Polished Topping System is setting the gold standard in the realm of polished topping overlays.
This innovative solution offers a faster, more cost-effective way to achieve the coveted polished concrete look without compromising on performance. Available in a range of colors and textures, polished concrete overlays cater to diverse design preferences, creating a modern and sophisticated aesthetic for residential and commercial spaces alike.

Steps To Polish Concrete Toppings

Step 1

Concrete Surface Preperation

Strong adhesion is crucial for long-lasting concrete toppings. Your first step is to grind the surface to achieve a CSP 3 bonding profile with our 16 Grit Metal Bond Tooling. This profile is perfect for ensuring optimal adhesion of concrete toppings. If present, remove residues using a Metal Bond or PCD Tooling.

Step 2

Removing cream later - First cut

Concrete toppings will have a polymerized (cream) layer that must be removed prior to polishing. Remove cream layer until the desired exposure is achieved. Use either 30 or 70 grit metal bond diamond abrasives for this step.

Step 3

Transition Stage - Removing metal tooling marks

Remove metal tooling scratches using 50, 100 or 200 grit transitional tooling. Transitional tooling effectively removes scratches and creates a surface ready for polishing. Your floor should be free of all visible tooling marks after this stage.

Step 4

Densify and Harden the Concrete Topping

Ensure your floor has been vacuumed and all tool marks have been removed. Apply WerkMaster Lithium Densifier to the topping to harden the surface and to acieve a maximum shine. DO NOT let densifier puddle on your floor. This can create staining that is difficult to remove in the polishing stages.

Step 5

Polishing the Concrete Topping

Begin with appropriate resin bond tooling 200, 400, 800, 1500, 3000 grit (3000 grit optional).  Ensure dust is removed in between passes. Burnish floor with 3000 grit burnishing pad after your final grit level.

Step 6

Seal and Protect Polished Concrete Topping

Once you get the look and polish you’re striving for, you will want to protect the surface by applying WerkMaster ULTRAguard sealer and surface wear protector. Use a pump up Sprayer and apply Two thin light coats. Allow coats to dry for at 30 minutes between coats. Burnish floor to achieve maximum shine and polish with either your WerkMaster Machine or Propane Burnisher. TIP: Start with a low RPM burnishing pass to ensure sealer has cured and pad is not scratching floor.

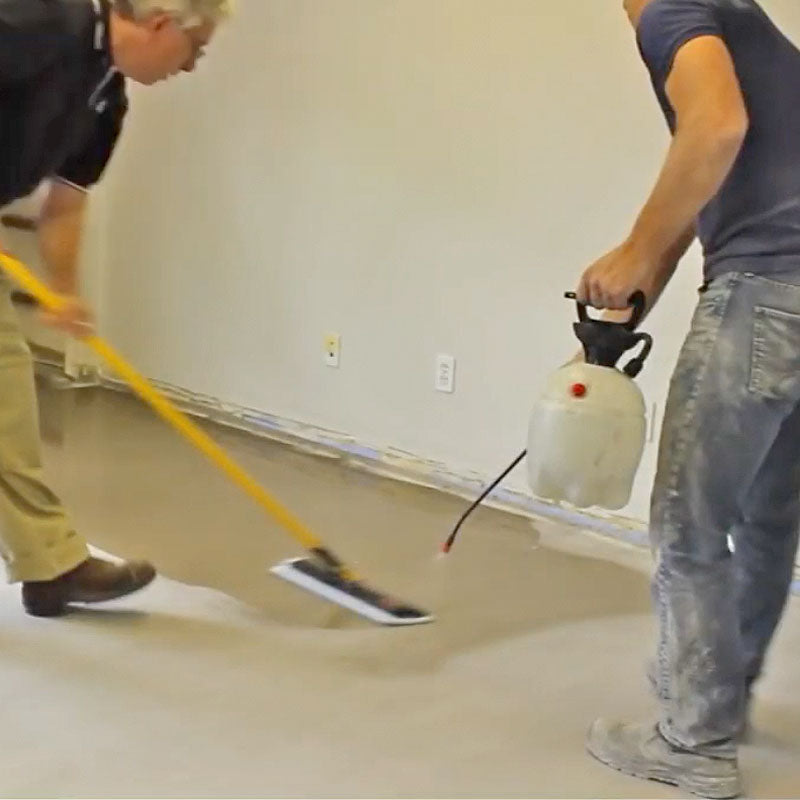
Perfect Edges on ARDEX PC-T™ with WerkMaster!

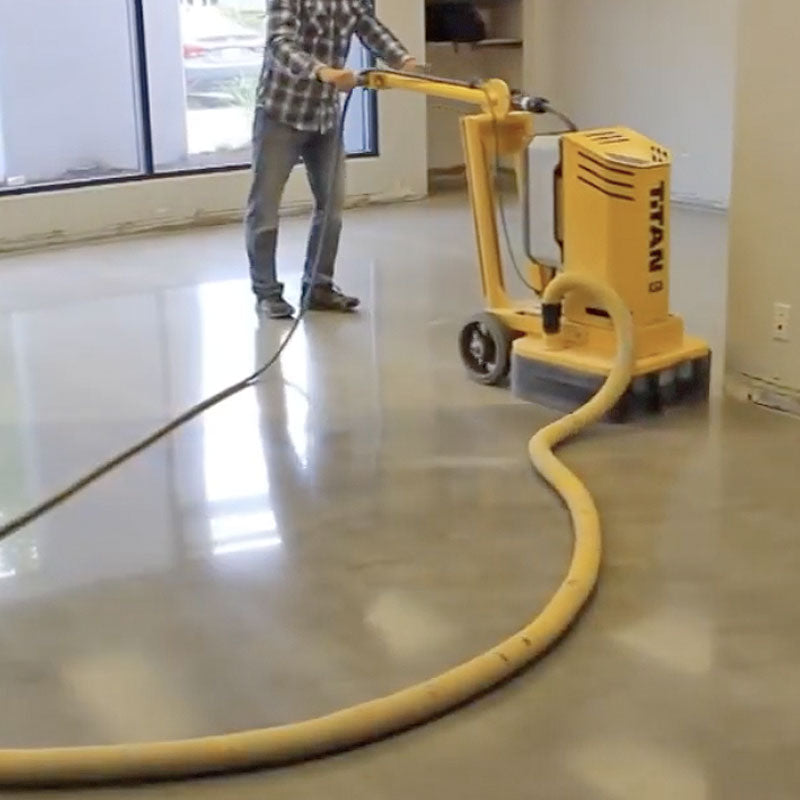
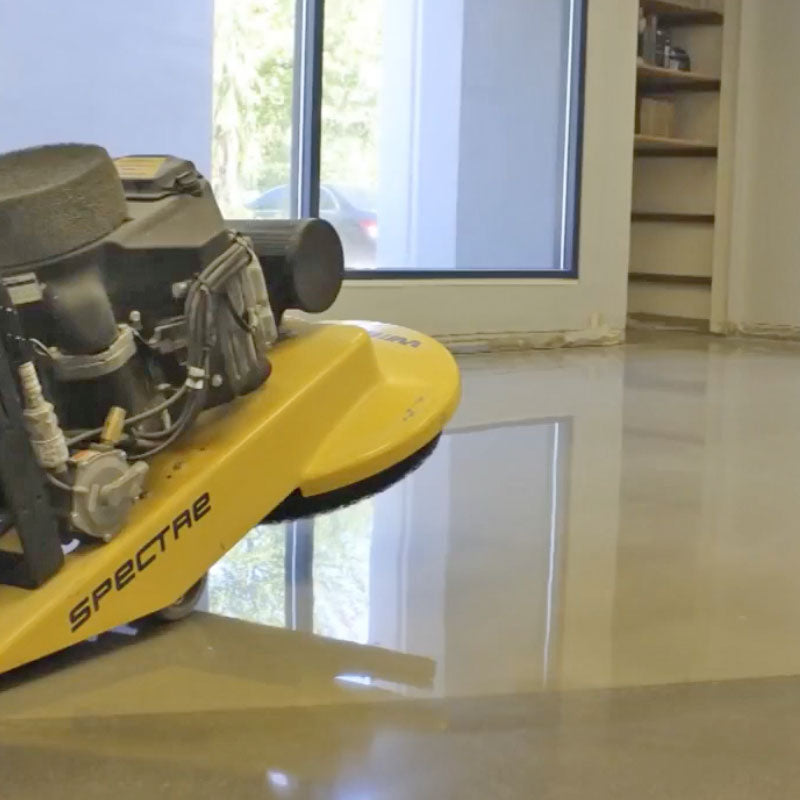
What makes the WerkMaster Polished Topping System unique is it allows the topping to be polished right to the edge. Utilizing WerkMaster’s Patented Octi-Disc Technology results are achieved faster and easier than any other system that WerkMaster’s polished concrete systems produce a level of shine that has not been achieved by competitive systems. WerkMaster’s Polished Concrete Topping System does not require heavy equipment to obtain results. Excellent finishes can be achieved by using all WerkMaster models

Need More Information?

Get In Touch